- OnePlus
- HTC
- Sony
- LG
- All Brands >
-
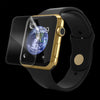 Apple Watch Series 1 / 2 / 3 Invisible Film Screen Protector
£4.99 -
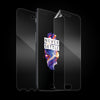
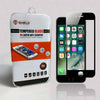 Apple iPhone 7/8/SE (Black) Tempered Glass Screen Protector
Sold Out -
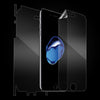 Apple iPhone 7/8/SE Invisible Film Screen Protector
Sold Out -
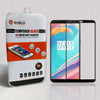 OnePlus 5T Tempered Glass Screen Protector (Black)
Sold Out -
 OnePlus 5 Invisible Film Screen Protector
Sold Out -
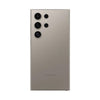
 Samsung Galaxy S24 Ultra Invisible Film Screen Protector
£8.99 -
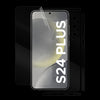 Samsung Galaxy S24 Plus Invisible Film Screen Protector
£8.99 -
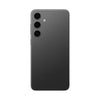
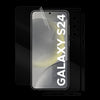 Samsung Galaxy S24 Invisible Film Screen Protector
£8.99 -
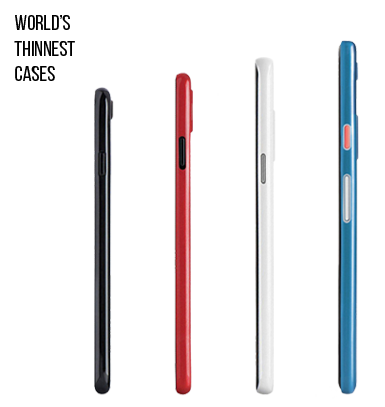
 Ultimate Thin Case for Samsung Galaxy S24 Ultra
Sold Out -
 Ultimate Thin Case for Samsung Galaxy S24 Plus
£13.99
Other Brands
Best Sellers
 Apple Watch Series 1 / 2 / 3 Invisible Film Screen Protector
  Apple iPhone 7/8/SE (Black) Tempered Glass Screen Protector
  Apple iPhone 7/8/SE Invisible Film Screen Protector
  OnePlus 5T Tempered Glass Screen Protector (Black)
  OnePlus 5 Invisible Film Screen Protector
 Newest Products
 Samsung Galaxy S24 Ultra Invisible Film Screen Protector
  Samsung Galaxy S24 Plus Invisible Film Screen Protector
  Samsung Galaxy S24 Invisible Film Screen Protector
  Ultimate Thin Case for Samsung Galaxy S24 Ultra
  Ultimate Thin Case for Samsung Galaxy S24 Plus
- Shop
▾
- OnePlus
- HTC
- Sony
- LG
- All Brands >
Other Brands
-
Apple Watch Series 1 / 2 / 3 Invisible Film Screen Protector
£4.99 -
Apple iPhone 7/8/SE (Black) Tempered Glass Screen Protector
Sold out -
Apple iPhone 7/8/SE Invisible Film Screen Protector
Sold out -
OnePlus 5T Tempered Glass Screen Protector (Black)
Sold out -
OnePlus 5 Invisible Film Screen Protector
Sold out
Best Sellers
-
Samsung Galaxy S24 Ultra Invisible Film Screen Protector
£8.99 -
Samsung Galaxy S24 Plus Invisible Film Screen Protector
£8.99 -
Samsung Galaxy S24 Invisible Film Screen Protector
£8.99 -
Ultimate Thin Case for Samsung Galaxy S24 Ultra
Sold out -
Ultimate Thin Case for Samsung Galaxy S24 Plus
£13.99
Newest Products
- Support

Liquid Glass Installation (Without Tray)
Preparation:
1. Do not install in areas with direct sunlight.
2. Install in a clean, dust free space.
3. Install on a flat surface to prevent the liquid from spilling off the screen. Phones with a big camera bump can cause a tilted screen. You can put something under the other end of the phone to level the screen.
4. Watch the installation video to better familiarise yourself with the installation process.
Step 1. Use the wet cloth and microfiber cloth to clean the screen.

Step 2. Cover the phone ports with the masking tape/speaker stickers.

Step 3. Remove the lid from the adhesive bottle and pour the glue onto the center of the screen.

Step 4. Peel of the protective film from the back of the tempered glass and place the glass onto the screen.

Step 5. The glue will automatically spread across the whole screen. (If any part of the screen is not covered by glue, tilt the phone so the glue can flow over and cover that part.

Step 6. Use the UV light to cure the screen. Connect the light using the cable and press the button* on the side to turn it on. Cure the screen starting at the bottom of the screen, then center, and then top for 15 seconds each.
*Single pressing the button will turn the light on for 45 seconds. If you press and hold the button until the light comes on, it will stay on for 1 minute.

Step 7. Use the wet cloth to wipe around the edges of the screen.
Use the UV light again to cure the bottom, center and top of the screen, this time for 1 minute each. After curing, place the light above the fingerprint sensor area(if your screen has one) and cure for an additional minute.
The installation is now complete. You can remove the masking tape/speaker stickers.
If you have any questions or problems, you can always let us know. We will be happy to help.